
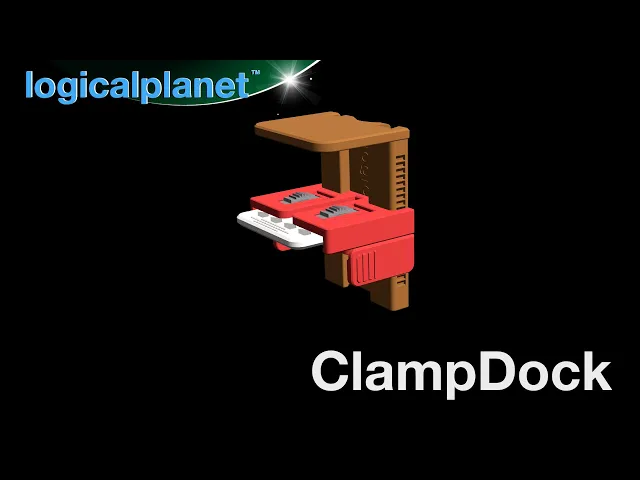


ClampDock (modular clamp-on system)
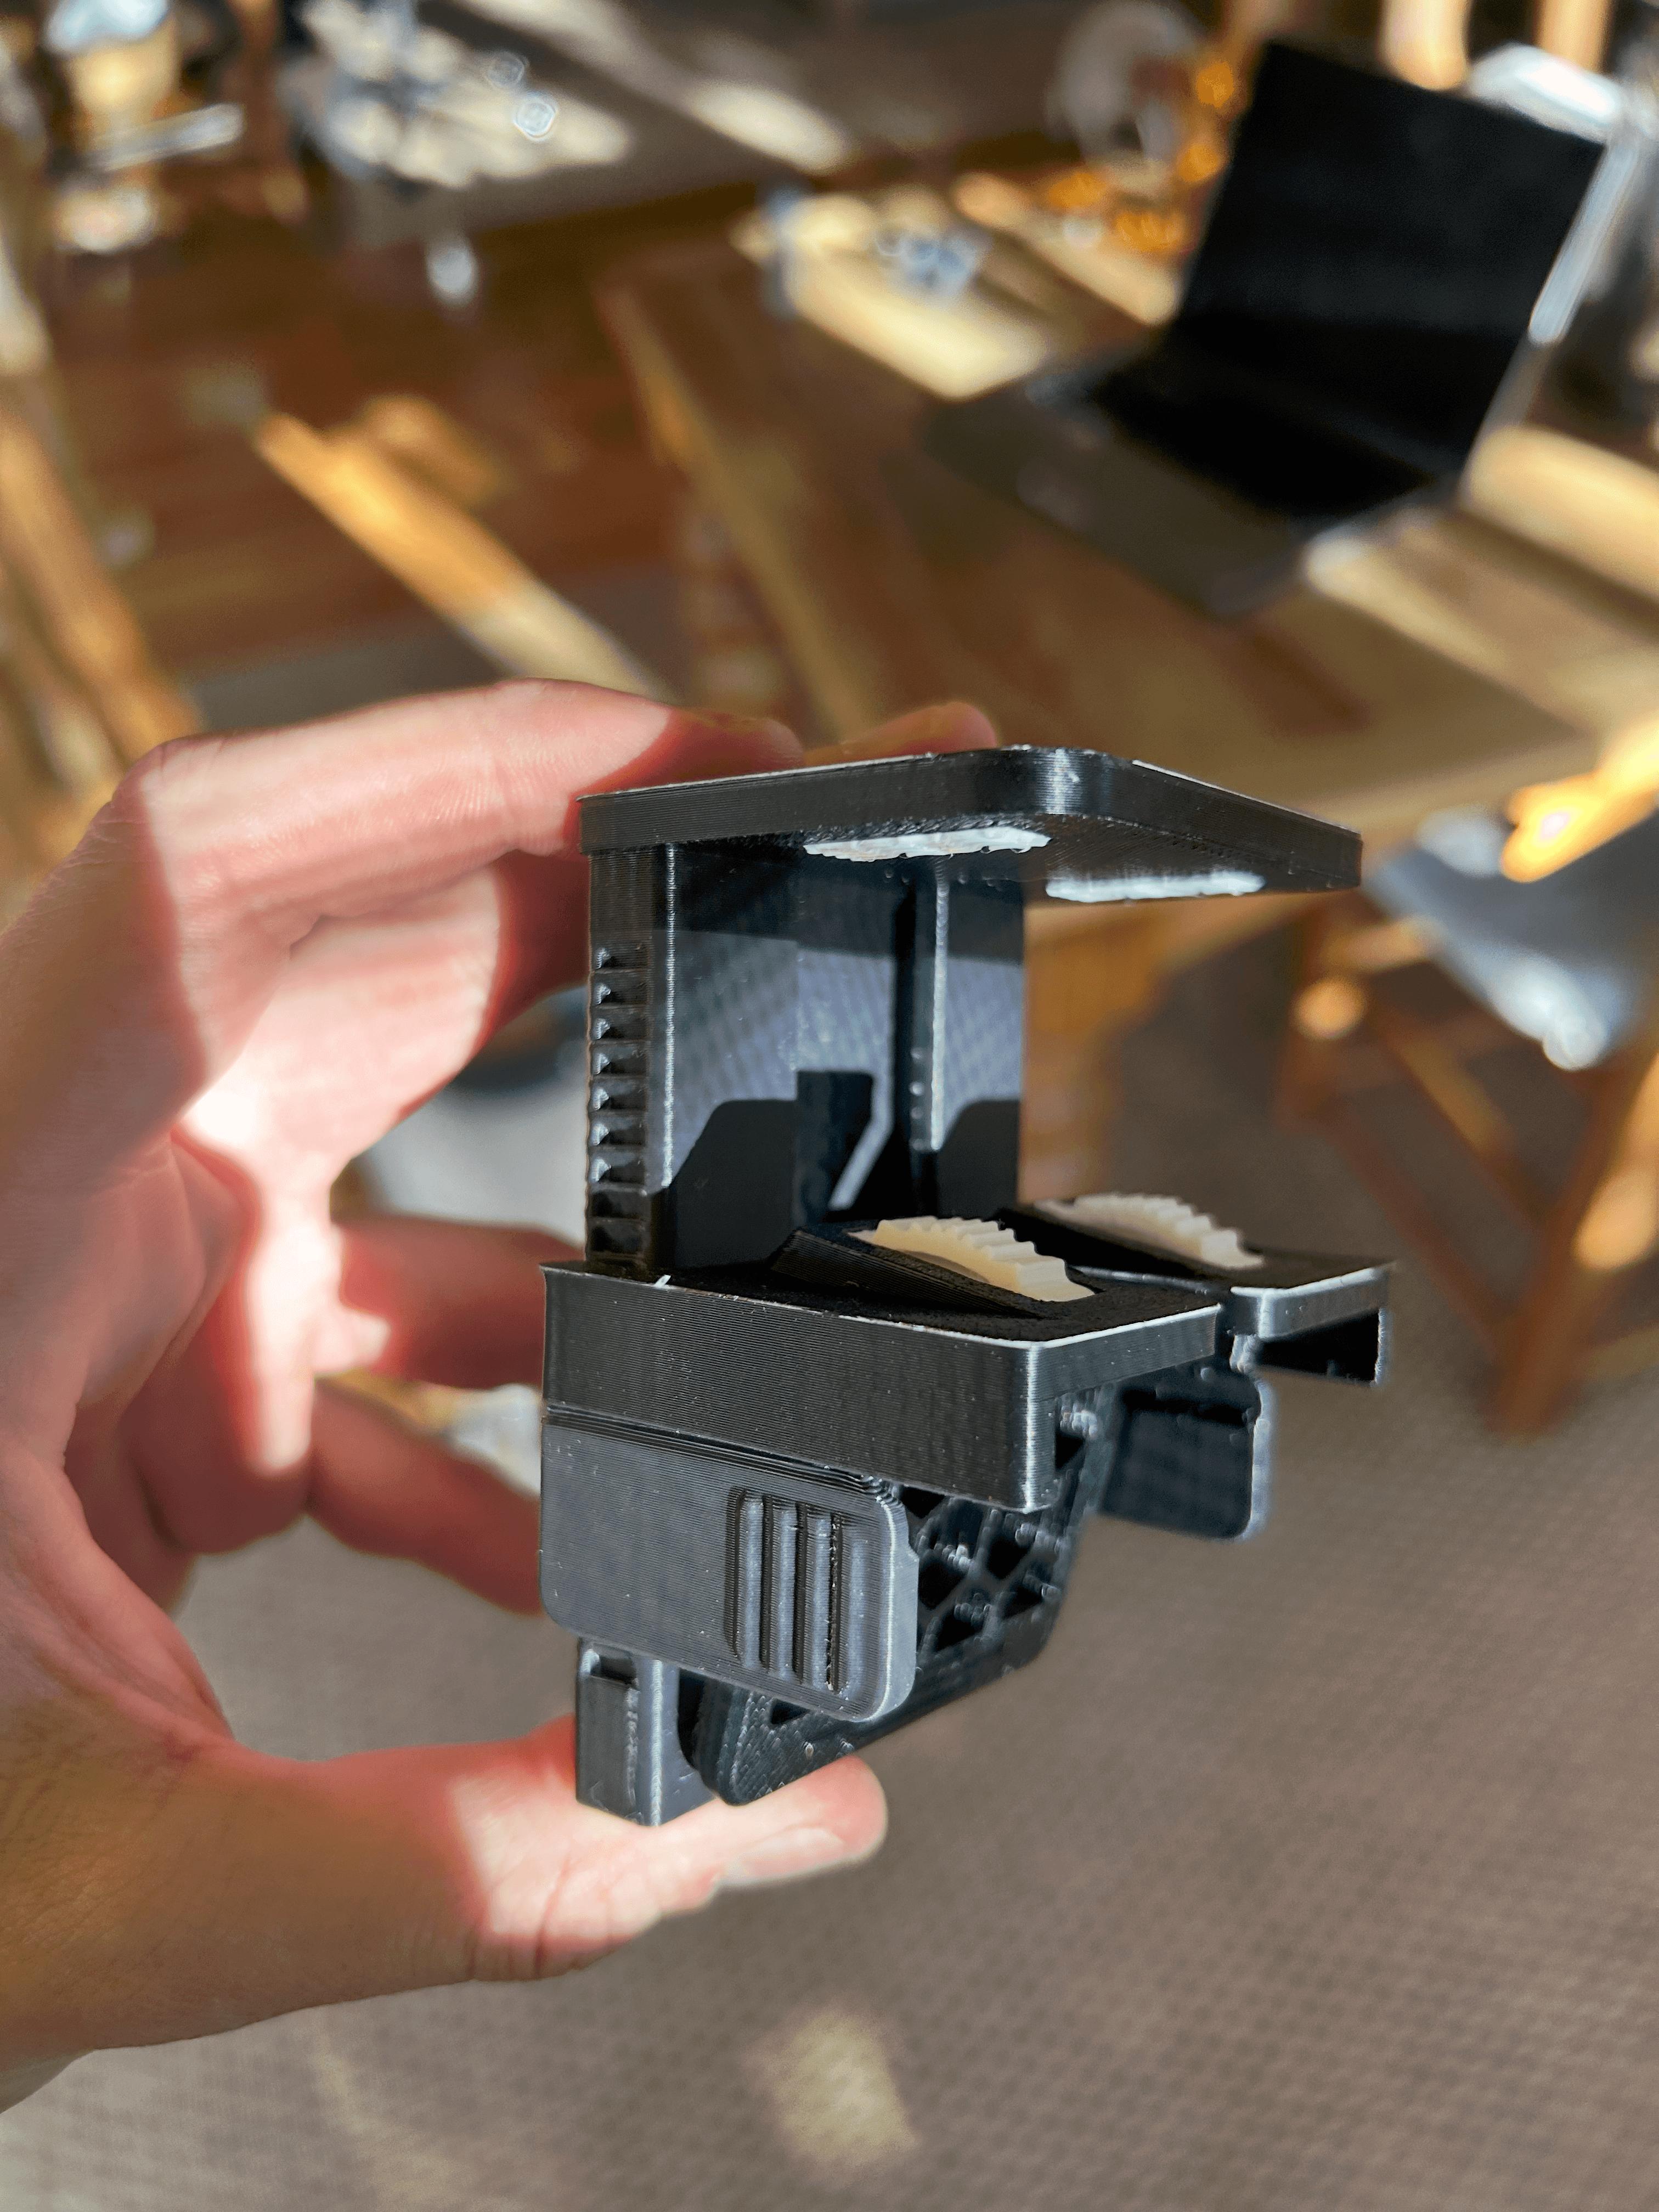
This is the core of my ClampDock system of modular accessories, which can be attached to a table, desk or shelf edge. It is adjustable to varying thicknesses of materials and can host an array of accessories. The clamping mechanism allows you to quickly attach and remove the device and adapt it to various installations.
The ClampDock is 100% printed and snaps together; no hardware, fasteners or adhesives are required.
This download contains the ClampDock host files only. You must download the snap-on ClampDock Accessories separately.
Print Settings
For the best results, I suggest the following: Material = PLA / PETG, use TPU95A for the grips. Nozzle = 0.4mm Layer Height = 0.2mm Line Width = 0.4mm Wall Count = 4 (1.6mm) Top and Bottom Layer Count = 5 Detect Thin Walls = ON Wall Generator = Arachne Infill = 40% (Cubic) Brim = Should not be needed Support = No Print orientation = As per the STL/3MF files.
Related Links
The collection of ClampDock compatible accessories is available here… https://thangs.com/mythangs/collections/132194
The ClampDock Vertical mount is available here... https://than.gs/m/1267912
The ClampDock Over Under mount is available here... https://than.gs/m/1267972
Visit my blog for more details and other designs: https://www.logicalplanet.com/
Revisions and Updates I occasionally update and revise my designs. When I do, I’ll document the changes here. Check back periodically for the latest revision notes or if you’re experiencing any issues with a model.
2025-02-08: I have added a shortened lever (file "ClampDock 1v00a_103b short lever.stl") which is a substitute for the original lever. This new "short" lever allows you to position the ClampDock in a tighter space but at the expense of making the lever more difficult to feel and rotate. I suggest printing both and testing them for your applications.

ClampDock (modular clamp-on system)
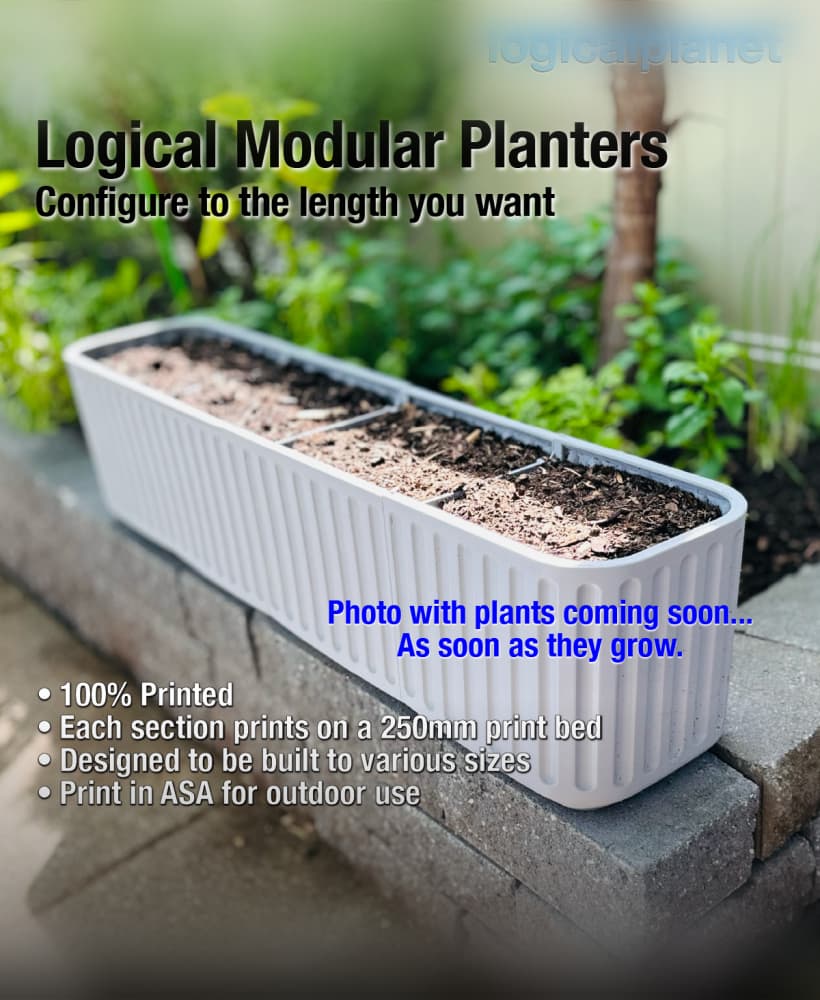
Logical Modular Planters
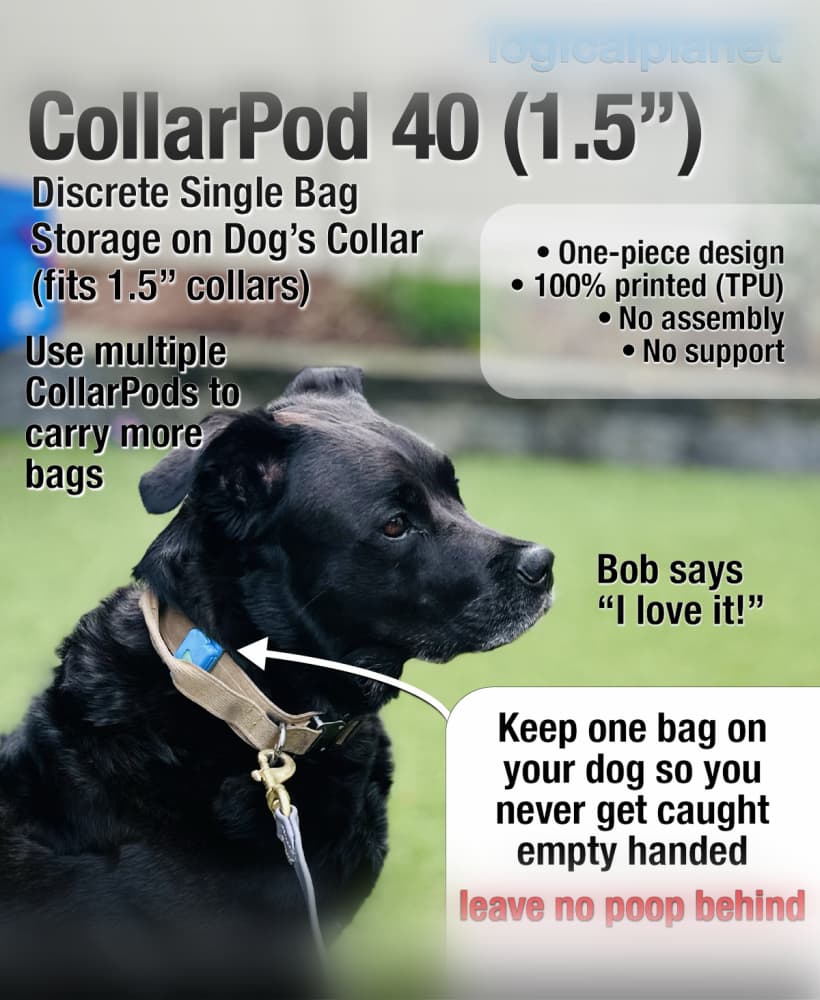
CollarPod 40 - Poop Bag Holder for Dog Collars - 1.5 Inch Collar - Single Piece TPU - No Assembly
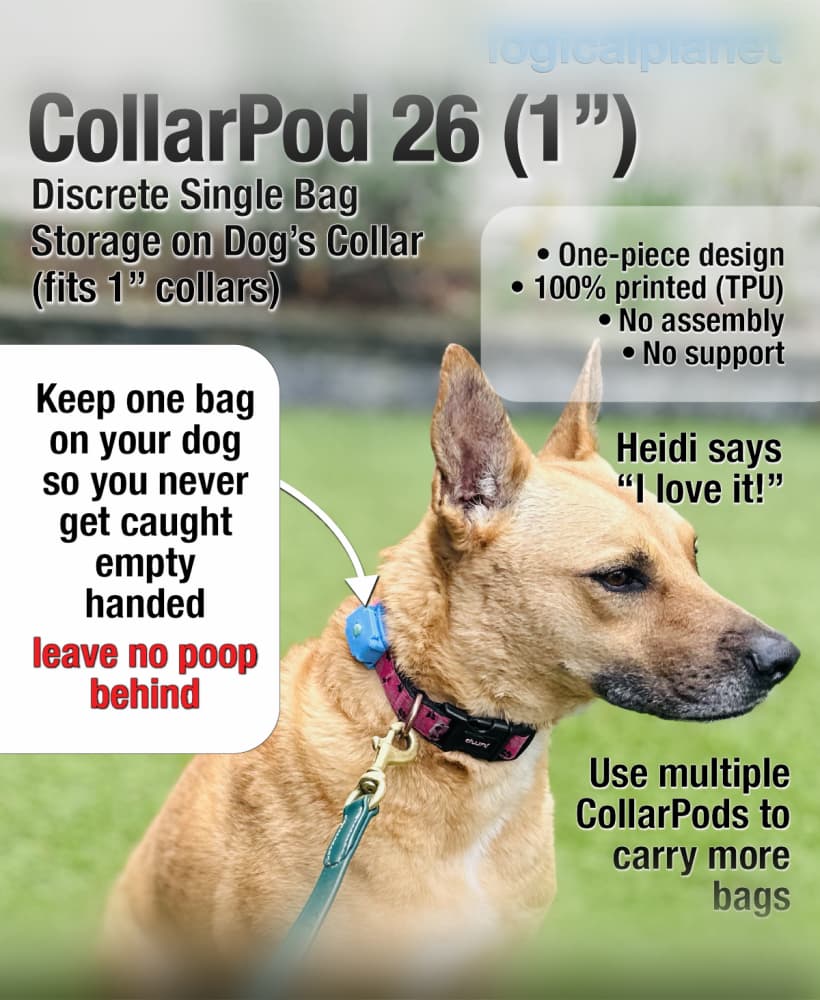
CollarPod 26 - Poop Bag Holder for Dog Collars - 1 Inch Collar - Single Piece TPU - No Assembly
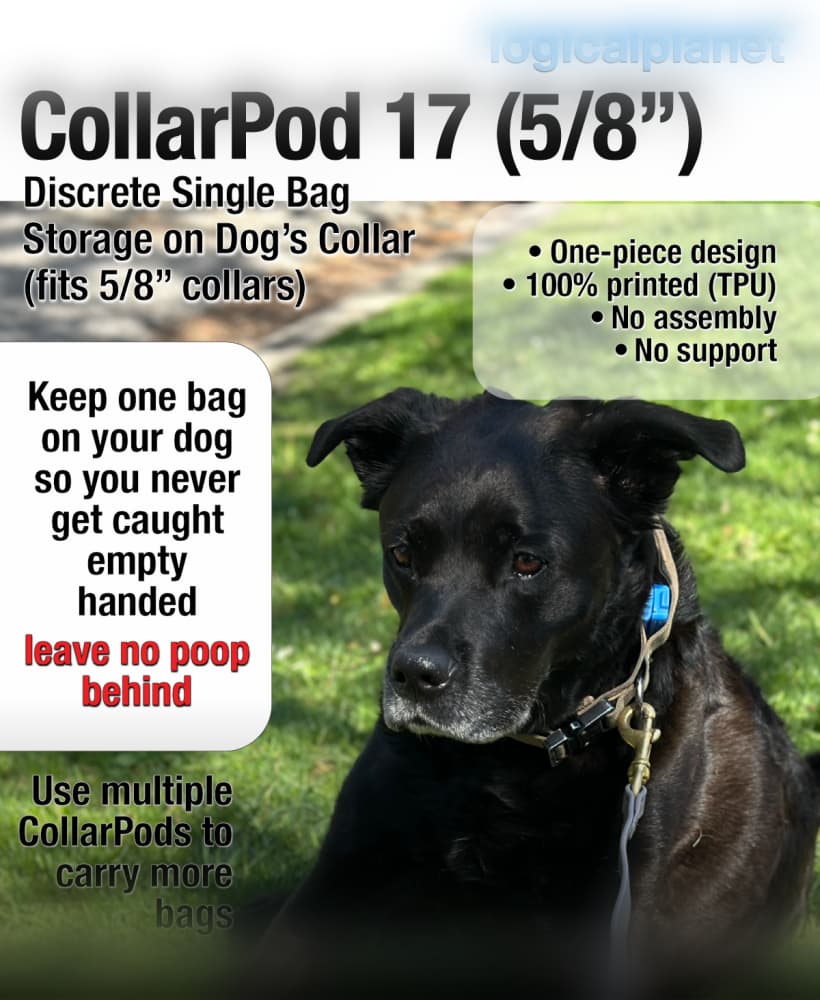
CollarPod 17 - Poop Bag Holder for Dog Collars - 5/8 Inch Collar - Single Piece TPU - No Assembly
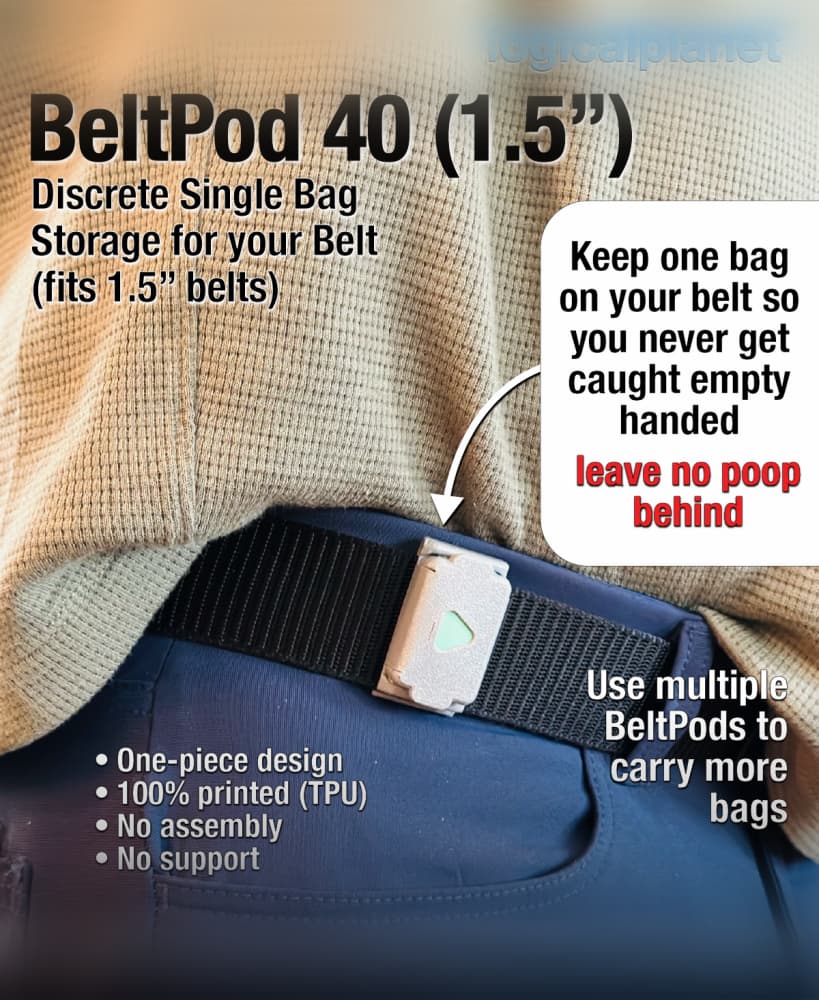
BeltPod 40 - Poop Bag Holder for Your Belt - Single Piece TPU - No Assembly
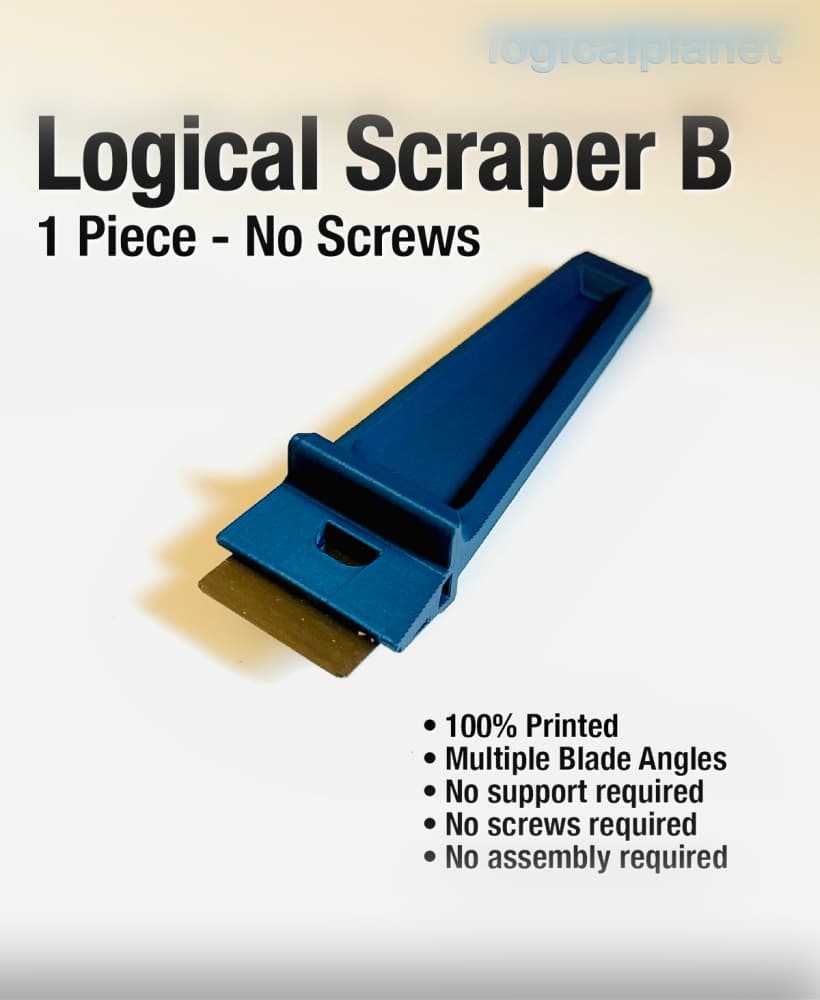
Logical Scraper B - 1 Piece No Screws No Assembly
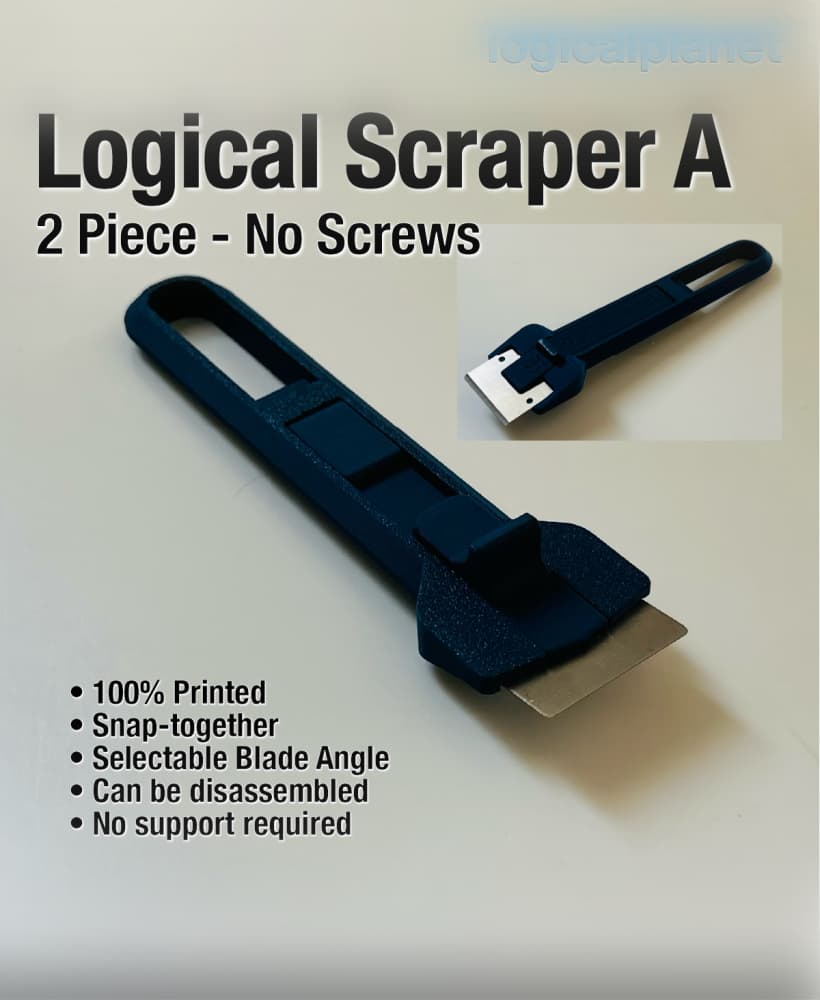
Logical Scraper A — 2 Piece, No Screws
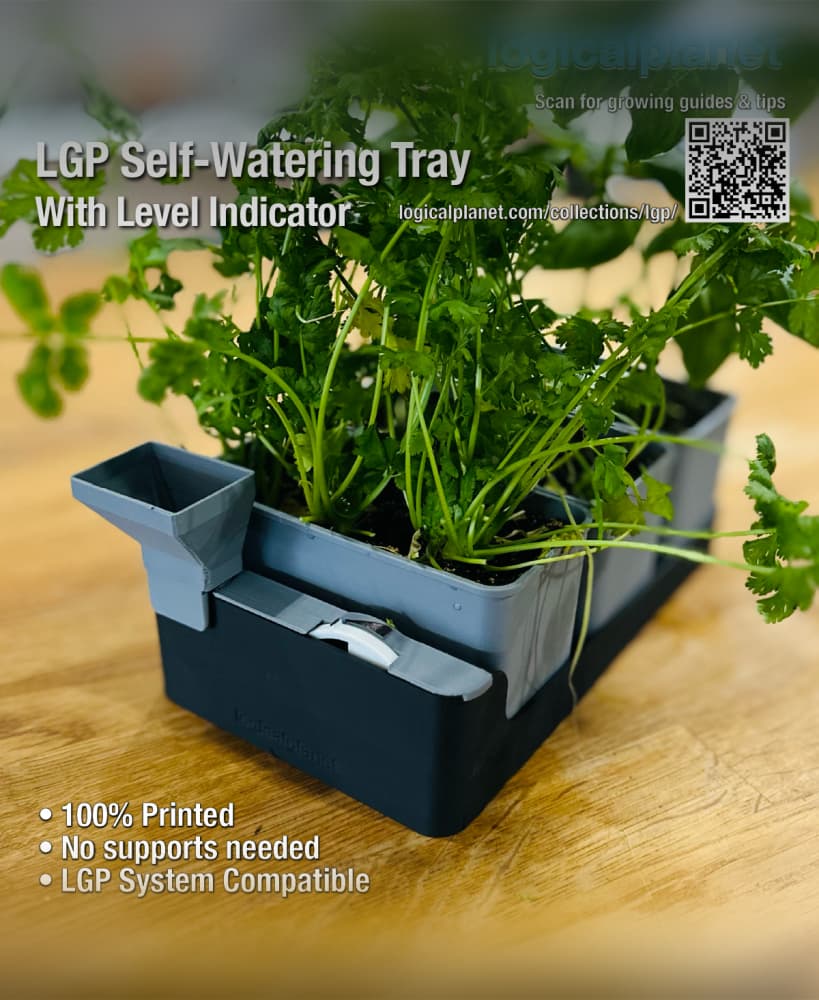
LGP Self-Watering Tray — Modular Bottom Watering Reservoir for the Logical Grow Platform
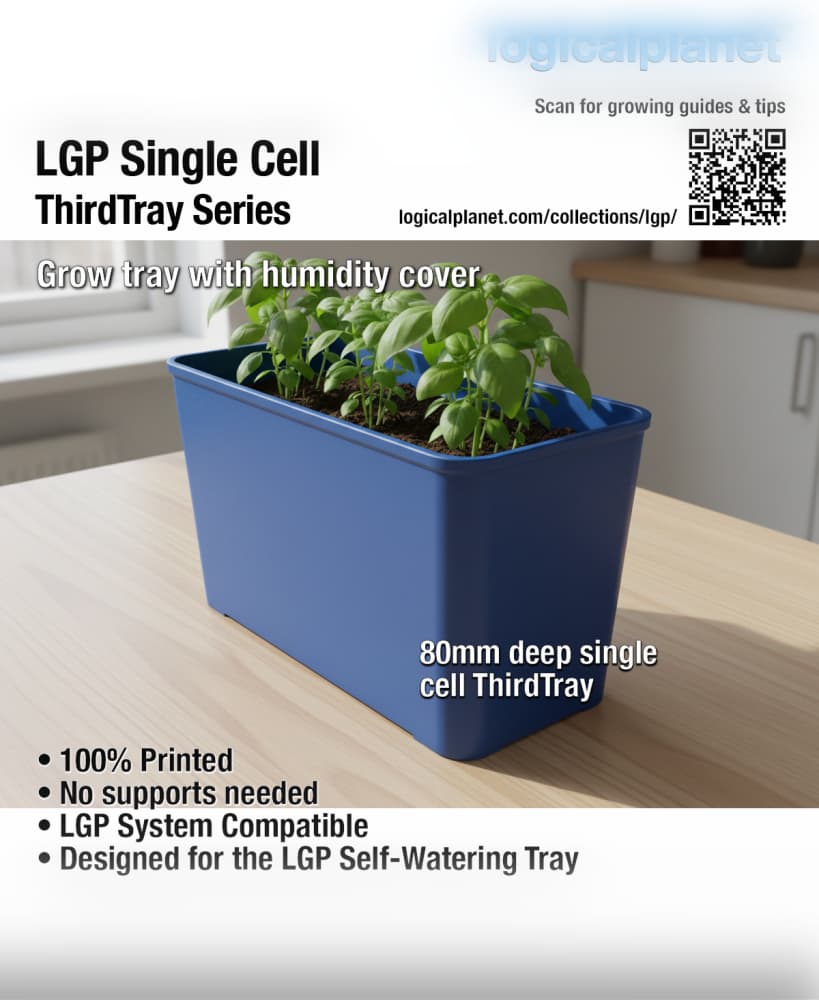
LGP Single Cell ThirdTray — Modular Grow Cell for the Logical Grow Platform
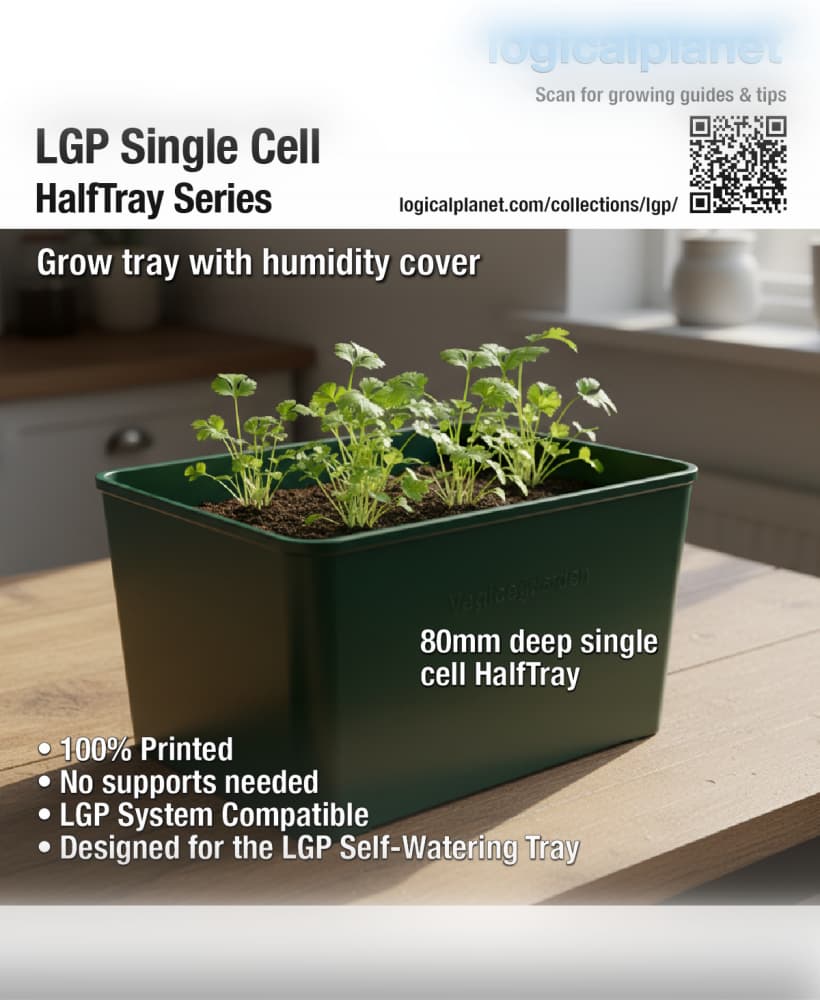
LGP Single Cell HalfTray — Modular Grow Cell for the Logical Grow Platform
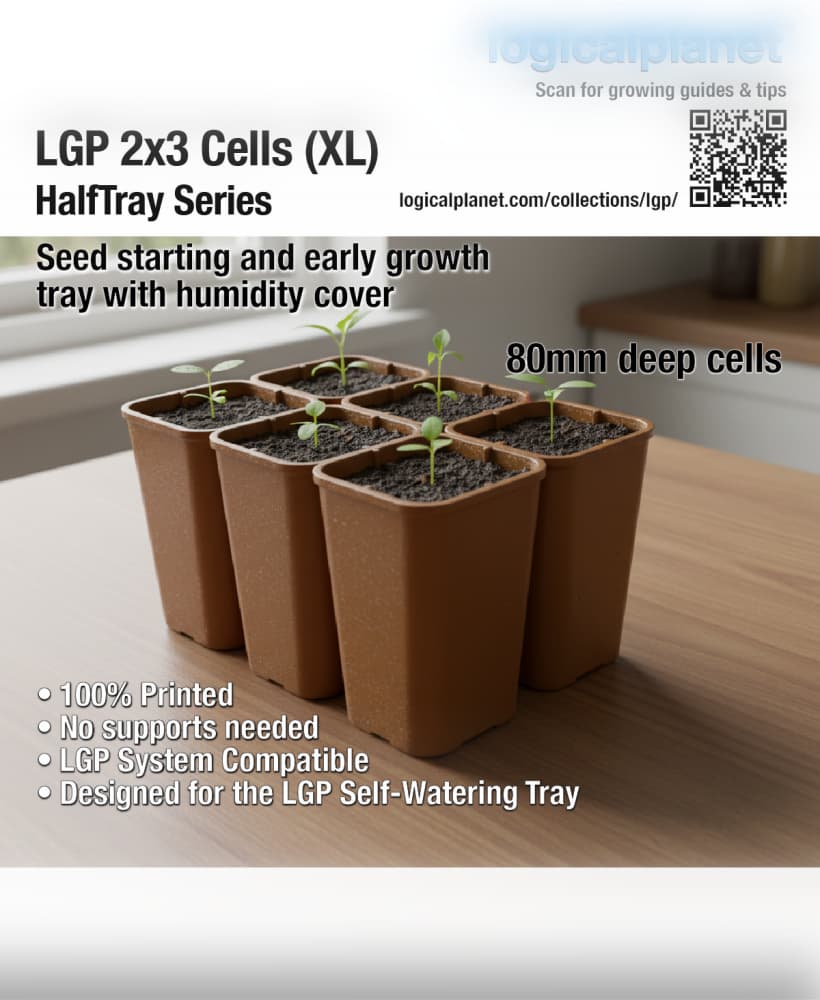
LGP 2×3 Cells XL HalfTray — Modular Seed Starting Tray for the Logical Grow Platform
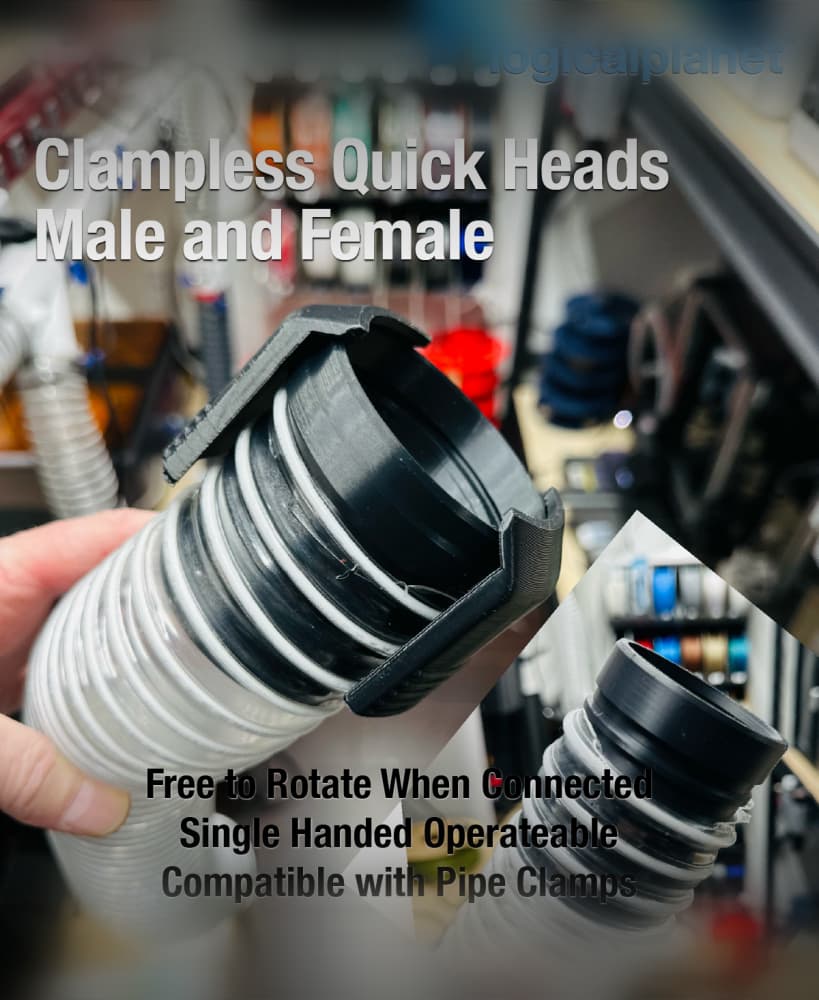
LPE25 Clampless Quick Connect
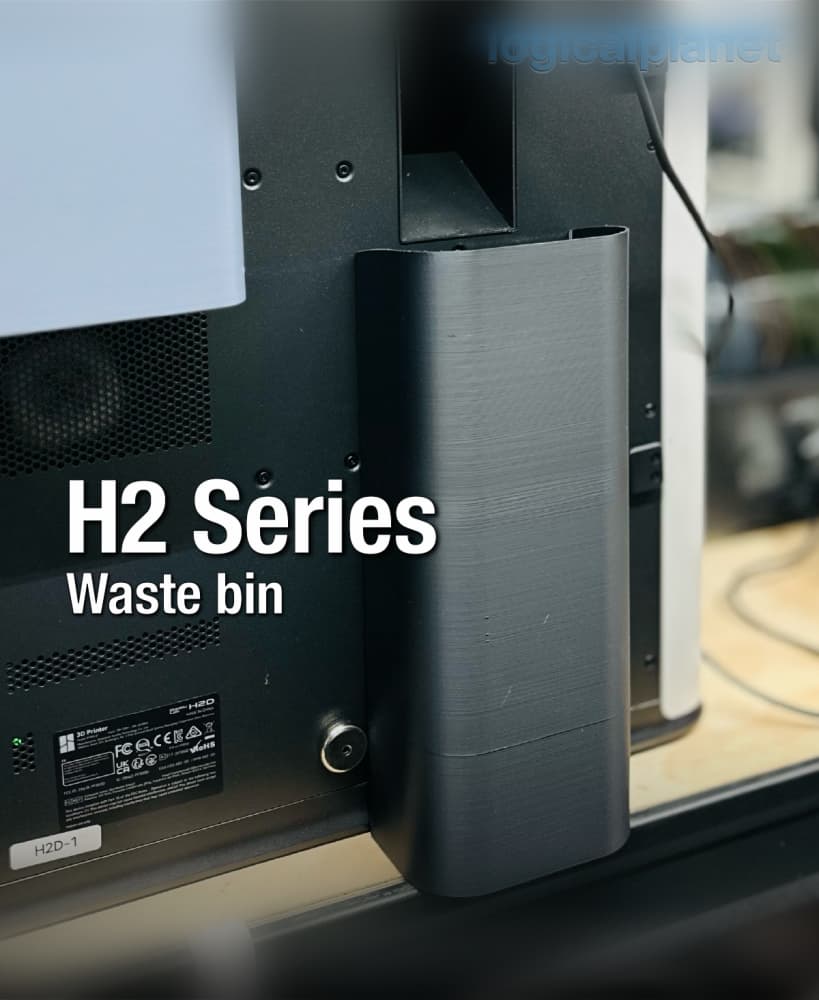
H2 Series Waste Bin
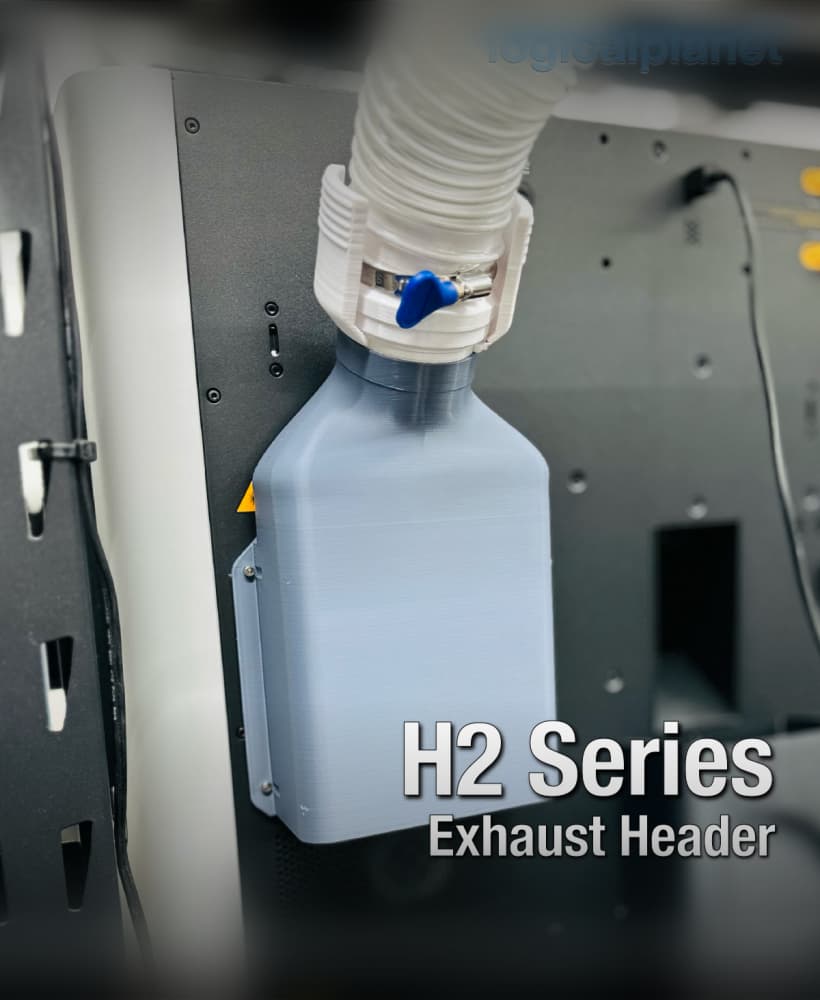
Exhaust Header for Bambu Lab H2 Series Printers

Lazy Susan 120 v3.0
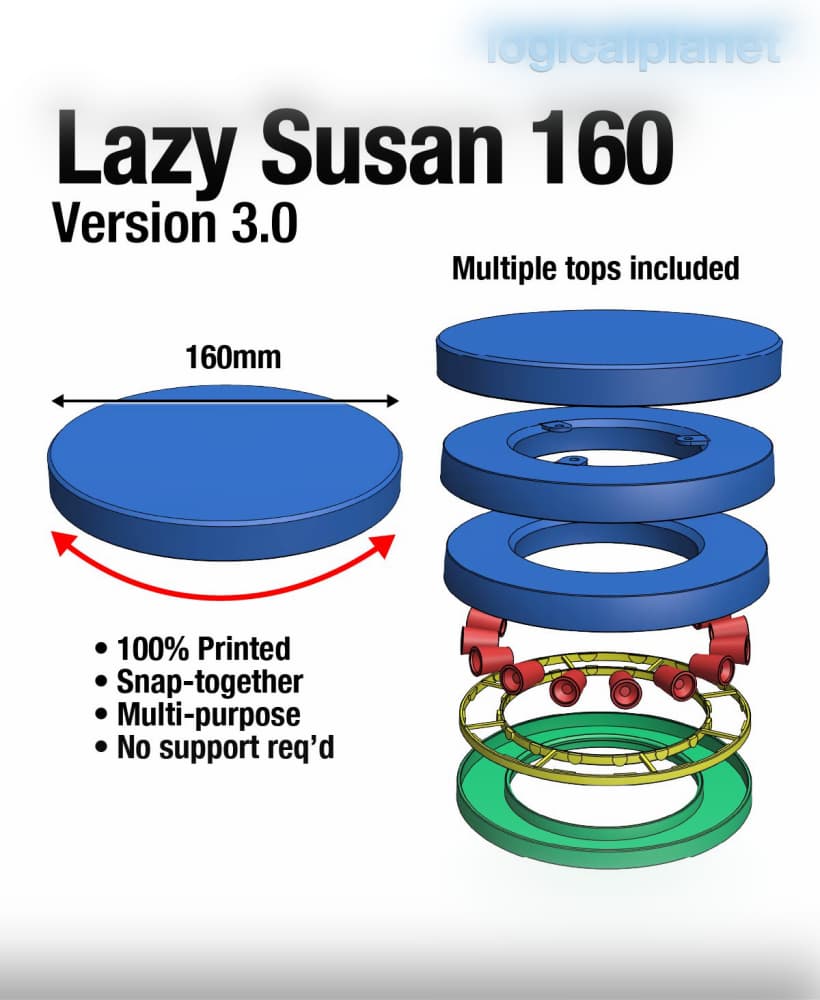
Lazy Susan 160 v3.0
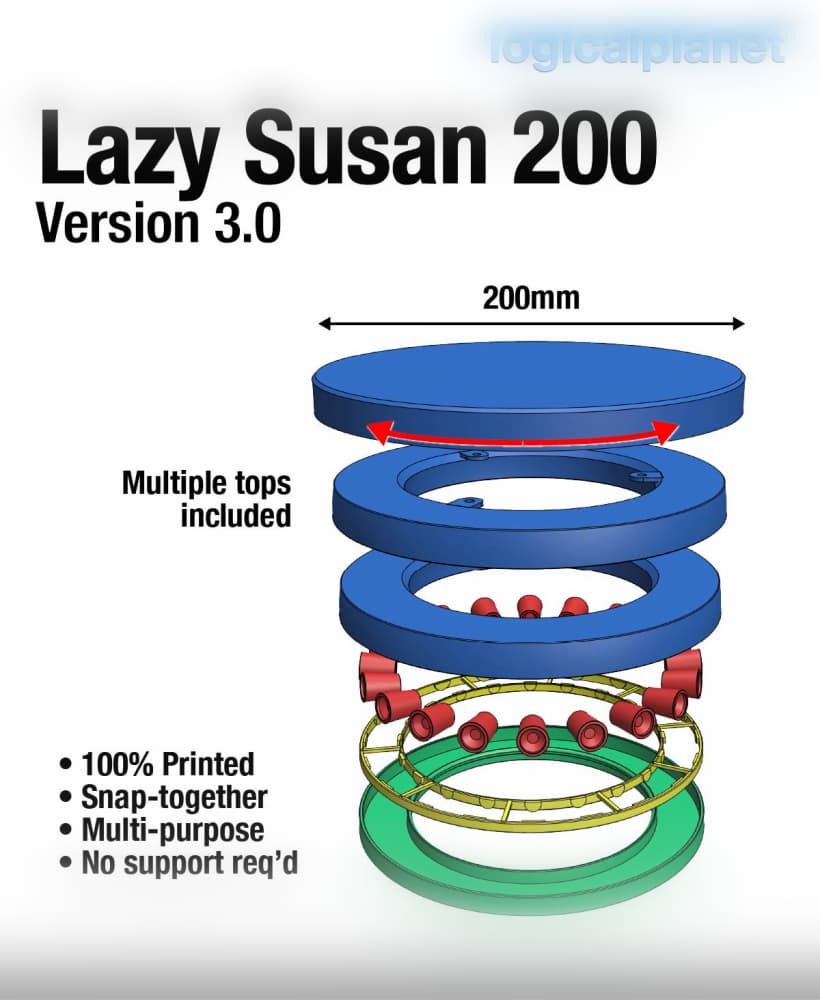
Lazy Susan 200 v3.0

Lazy Susan 240 v3.0
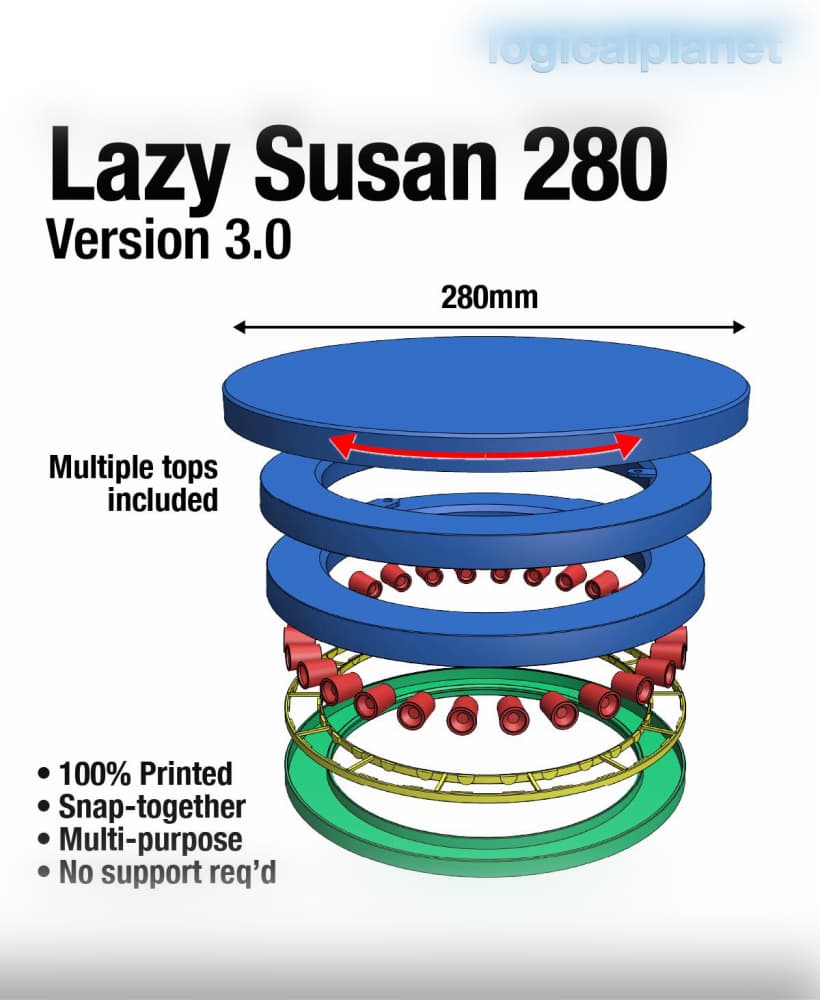
Lazy Susan 280 v3.0
Awesome. Thanks for posting and your comments.
By the way do you think one of the attachments for it can be a phone holder cool?
I will try to come up with one. Thank you.
I followed all the settings and it printed very well but the slider will no slide onto the main piece without getting stuck even before it gets down to the ribs. Any ideas what I can do different besides sanding on it?
I had a similar experience. The printing looked really great, but I wasn't able to get the Slider onto Main at all. I am using PLA with an Anycubic Kobra Go. I printed Benchy earlier in the day, and it came out very clean also.
Are you able to see where the interference is? I could send you a version to test with more clearance if you are interested. Please email me at pdb6251 gmail.com and I can send you a test file.
Sanding should work but should not be needed so I guess there is something else wrong. Perhaps some first layer squish or some lifting on the first layers which causes some distortion. Also, try a very small amount of lubricant. Can you see where it is binding or not fitting well? If you want to send me some photos by email to pdb6251 gmail.com I will try to help you.
Hi. It would be great if the lever wasn't longer than the slider. I want to attach it to a couch, and the lever prevent me to put it further in, as the couch arm goes down to the floor.
Hi, I just added a shortened lever to the posting. Please let me know how it works for you.
Oh. Ok. I will look into that tomorrow.
This is begging for a way to mount on top of doors or similar profiles, like the edges of big plastic boxes.
Similar to your spare toilet paper hanger, but compatible with all the accesories you built for this. :)
Thanks for sharing.
Great idea! I will add that to the list of expansion designs for this.
I just printed it and assembled is is good it is tight! So I this I can put some heavy stuff on it good try dude this is awesome
Would this be strong enough for a big/heavy water bottle?
This is the most useful and well made print series that is FREE too
Dude, I downloaded a bin with this concept, but there was only a bin. You did several things and this is AWESOME! Thank you very very much!
Thanks brah!